


Larval Tears are limited respec items in Elden Ring. This guide lists every confirmed location in the base game, including mimic enemies, merchants, and Eternal City drops, along with the exact requirements needed to use them.
Elden Ring Larval Tears Guide – All Locations and How Respec Works
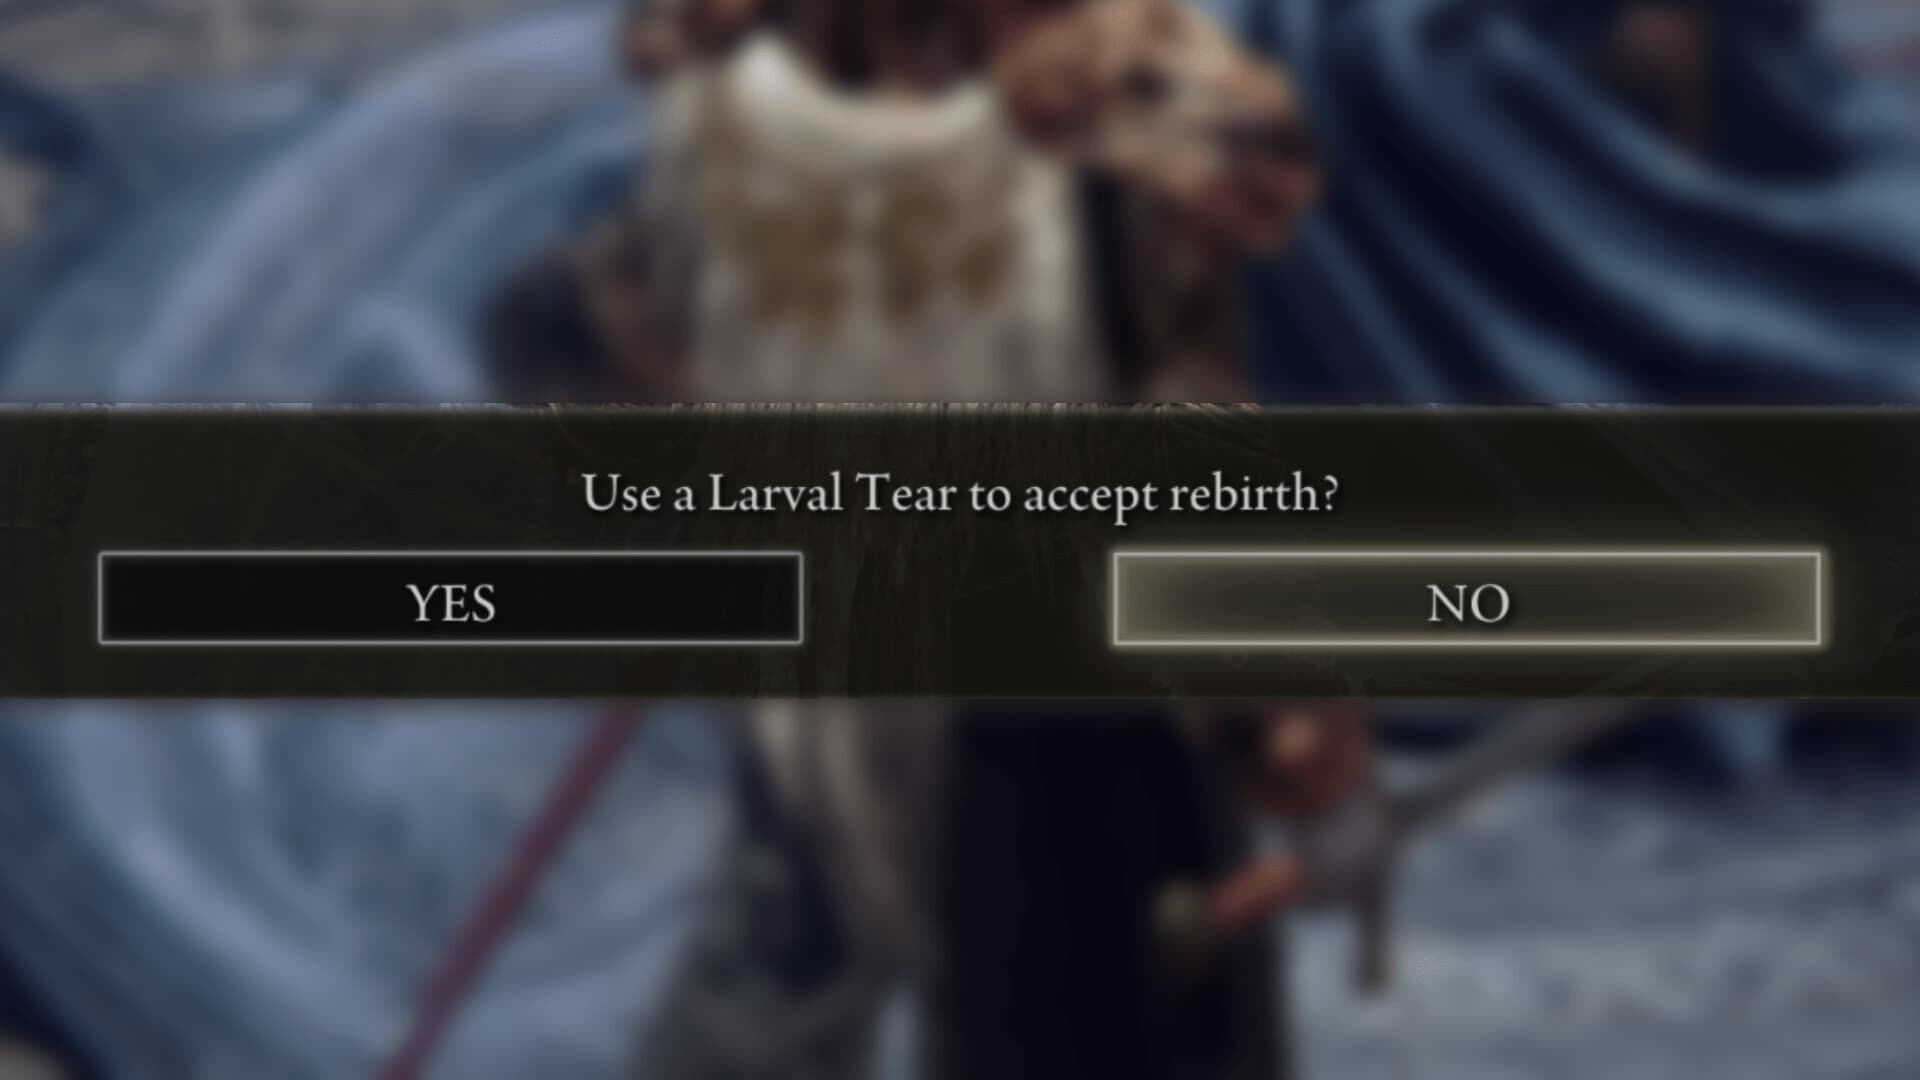
To unlock respec, you must defeat Rennala, Queen of the Full Moon, inside the Academy of Raya Lucaria. After her defeat, she offers Rebirth in the Grand Library in exchange for one Larval Tear.
In the base game, there are 18 Larval Tears per playthrough. The Shadow of the Erdtree expansion adds more, but this guide focuses only on the original pool.
How Larval Tears Work
Rebirth resets your character to the base stats of your starting class. All earned levels are refunded and can be reassigned freely. Your overall character level does not change — only attribute distribution is affected.
This system is useful for several reasons:
- Switching to newly discovered weapons with different scaling
- Correcting early stat allocation mistakes
- Moving from melee to caster or hybrid builds
- Adjusting for difficult late-game regions
- Preparing for PvP or New Game Plus
The respec screen functions like a sandbox. You can reallocate points, see stat changes in real time, and verify equipment requirements before confirming. Nothing is permanent until you accept the changes.

Important: If you exit the menu without confirming, your Larval Tear remains in your inventory.
Do Not Waste Your Larval Tears
Since Larval Tears are limited per playthrough, planning matters.
- Choose your target weapon or spell first.
- Meet minimum stat requirements before heavy investment.
- Understand soft caps — returns diminish beyond certain thresholds.
- Set a survivability baseline with Vigor and Endurance.
- Double-check equipment requirements before confirming.
Opening the respec menu does not consume the item unless changes are confirmed, allowing careful experimentation.
All Larval Tear Locations in the Base Game
Each entry lists region, nearest Site of Grace, encounter type, and reward details.
1. Limgrave
Nearest Grace: Agheel Lake South
Southeast of the Grace on a raised ledge, a Wandering Noble transforms into a Lesser Runebear when attacked. Defeat it to obtain one Larval Tear.
2. Siofra River
Nearest Grace: Worshipper’s Woods
Access via the Siofra River Well in East Limgrave. Near the aqueduct behind the waterfall, the Abandoned Merchant sells one Larval Tear for 3,000 runes.
3. Liurnia of the Lakes (4 Total)
Village of the Albinaurics
Grace: Village of the Albinaurics
Past the stone bridge near coffins on a ledge lies a Larval Tear pickup. Clear the ambushing Albinaurics first.
Boilprawn Shack
Grace: Boilprawn Shack
A Giant Crayfish transforms into a Grafted Scion when attacked. Defeat it for one Larval Tear.
Pidia Merchant
Grace: Manor Lower Level
After defeating Royal Knight Loretta and unlocking Three Sisters, access Pidia’s balcony. He sells one Larval Tear for 3,000 runes.
Resurrection Painting
Activate the painting in Artist’s Shack. Travel behind Caria Manor to the graveyard in Three Sisters. Interact with the ghost for one Larval Tear and additional equipment.
4. Caelid
Nearest Grace: Caelid Highway South
Near the Cathedral of Dragon Communion, a Wandering Noble transforms into a flaming sword-wielding Troll. Defeating it grants one Larval Tear.
5. Nokron, Eternal City (5 Total)
Access Requirement: Defeat Starscourge Radahn to trigger the falling star event.
- One pickup inside a building near Nokron Grace.
- One body inside a gazebo on the path toward the Mimic Tear boss.
- Mimic Tear Boss: Drops two Larval Tears. Entering without equipment simplifies the fight.
- Night’s Sacred Ground: Defeat the giant Silver Sphere for one Larval Tear.
6. Altus Plateau
Nearest Grace: Rampartside Path
A Wandering Noble transforms into a Bladed Lion. Defeat it for one Larval Tear.
7. Mt. Gelmir
Nearest Grace: Road of Iniquity
Near the Minor Erdtree, a Putrid Zombie transforms into a Wormface. Maintain distance to avoid Death Blight. Defeating it grants one Larval Tear.
8. Nokstella, Eternal City (3 Total)
Access Requirement: Progress Ranni’s questline and reach Nokstella.
- Silver Sphere on the main bridge
- Silver Sphere dropping from ceiling
- Silver Sphere in large hall before final bridge
Each drops one Larval Tear.
9. Consecrated Snowfield
Access Requirement: Both halves of the Haligtree Secret Medallion.
Nearest Grace: Inner Consecrated Snowfield
A group of nobles surrounds a buried figure that transforms into a powerful Runebear. Defeat it for the final base-game Larval Tear.
Best Times to Respec
The first ideal reset usually comes after defeating Rennala. By mid-game, specialized weapons demand tighter stat allocation. Early survival-focused leveling can be optimized.
Late game areas such as the Mountaintops of the Giants and the Haligtree punish low Vigor and inefficient scaling. Reallocating points into survivability or refined damage stats can dramatically improve performance.