Mecha BREAK just landed with 15 Strikers, tossing players into blistering sci-fi warfare packed with boosters, missiles, and mecha clashes. You’ve got 12 base mechs plus three fresh fighters already tearing up ranked matches and quickplay.
Whether you’re coming back from closed testing or just unlocked your first frame, you’ve gotta master your Striker. Nail it and you top the scoreboard. Don’t, and you’re a free XP source for the enemy.
Game Ontology: Striker Structure
In Mecha BREAK, players control Strikers: fully equipped combat machines designed for specific roles on the battlefield. Each Striker is shaped by two main factors: weight and combat class.
Weight Classes
- Light – fast and agile. Excellent for harassment or utility, but extremely fragile.
- Medium – balanced across mobility, durability, and damage. Suitable for most situations.
- Heavy – slower, more durable. Built to control areas and absorb pressure.
- Ultra-Heavy – the slowest but most powerful. These mechs are walking strongholds.
Combat Classes
- Attacker – focused on dealing sustained or burst damage.
- Defender – designed to absorb hits, control zones, and provide protection.
- Sniper – excels at long-range engagements and eliminating key targets.
- Brawler – best in close combat. Disruptive and capable of diving enemy backlines.
- Support – heals, protects, and enhances team survivability or positioning.
The combination of weight and class defines how a Striker functions in combat. For example, a Light Sniper and a Heavy Sniper serve the same role, but play dramatically differently.
Striker Classes Explained
Attacker
Damage-focused mechs. Your job is to apply constant pressure, push into contested zones, and eliminate targets quickly. Best suited for confident, aggressive players.
Defender
You hold territory, absorb damage, and provide safety for your team. Defenders are frontline anchors that make enemy advances difficult.
Sniper
You operate from a distance, eliminating threats before they can enter the fight. Effective use of positioning and timing is critical for success.
Brawler
Thrives in chaos. You jump into close-range fights, disrupt enemy formations, and secure skirmish wins through combos and burst damage.
Support
Supports heal but also they enable survivability, reposition allies, and deny enemy momentum. Strong team play starts with effective Support.
Strikers Breakdown – Light and Medium Mechs
Light Mechs
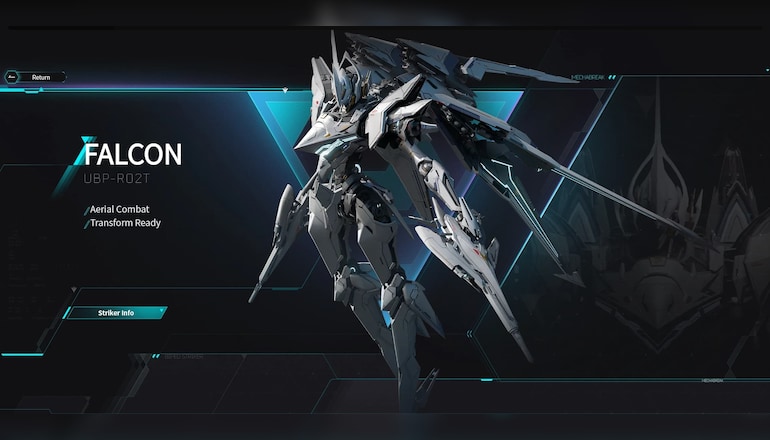
Falcon (Light Attacker)
A fast, hit-and-run mech ideal for picking off squishy targets and flanking.
- Autocannon – consistent ranged DPS
- Light Missile Launcher – lock-on finisher
- Recon Kit – enhances enemy detection, reveals stealth units
- Winged Form Module – vertical movement and range extension
- Heavy Missile Launcher – high burst damage against distant or fleeing target
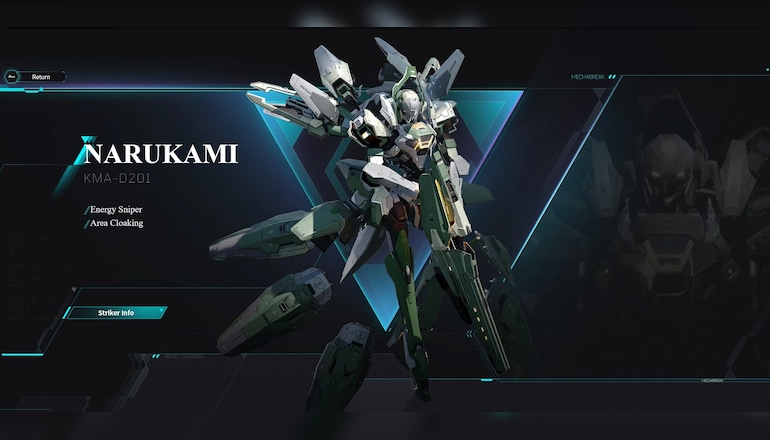
Narukami (Light Sniper)
Stealthy and deadly. Perfect for flanking and ambushing from unexpected angles.
- Charged Beam (Sniper Mode) – high-damage, long-range shot
- Charged Beam (Close Mode) – short-range backup attack
- Decoy Drone – confuses enemies, enables repositioning
- Traction Grappler – movement tool with crowd control cleanse
- Optical Camo Drone – provides temporary group stealth
Luminae (Light Support)
Fast and reactive support mech offering both healing and chip damage.
- Drone Launcher (Heal) – direct, targeted healing
- Drone Launcher (Corruption) – damage-over-time effect
- Haze Diffuser (Heal) – healing smokescreen
- Haze Diffuser (DoT) – area denial via damage zone
- Jetwing – mobility boost and speed enhancement for allies
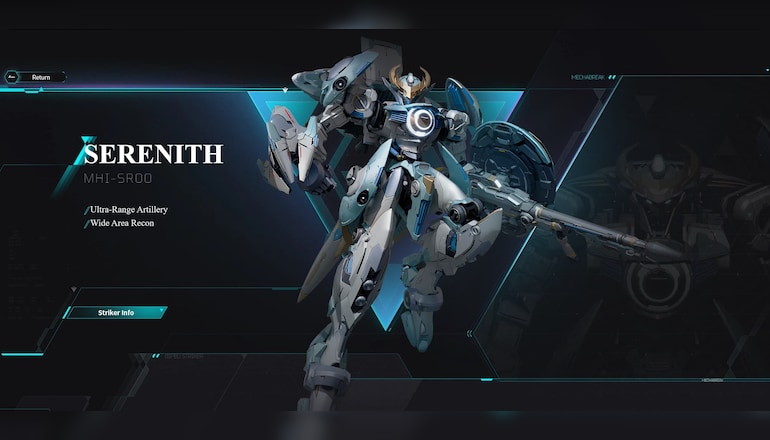
Serenith (Light Support)
A tricky support built around hacking and deception.
- Energy Autocannon – light ranged poke
- Orbital Beam – guided zoning tool with delayed impact
- Disruption Grappler – disorients enemy targeting systems
- Disruptor – disables target locks and aids escape
- Recon Kit – expands detection range and enables lock-on through terrain
Medium Mechs
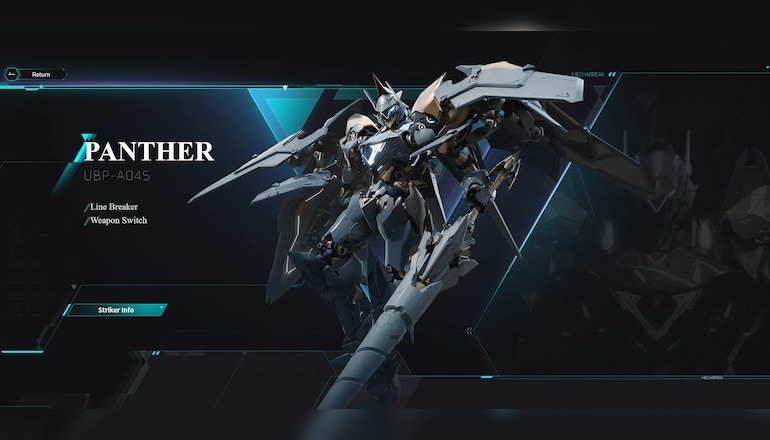
Panther (Medium Brawler)
A bruiser built for chaos. Great at initiating and disrupting enemy lines.
- Lance – dash and stun ability
- Complex Shield – frontal damage block
- Blade – melee attack with knockback
- Booster Kit – mobility boost and shield regen
- Full Shield – 360-degree protection, especially useful near objectives
Alysnes (Medium Attacker)
Versatile attacker with poke, close-range tools, and strong reset potential.
- Autocannon – consistent pressure at range
- Halberd – heavy melee for tight spaces
- Gauss Cannon – area knockback
- Complex Shield – provides added durability
- Airdrop Kit – grants brief immunity and resets cooldowns
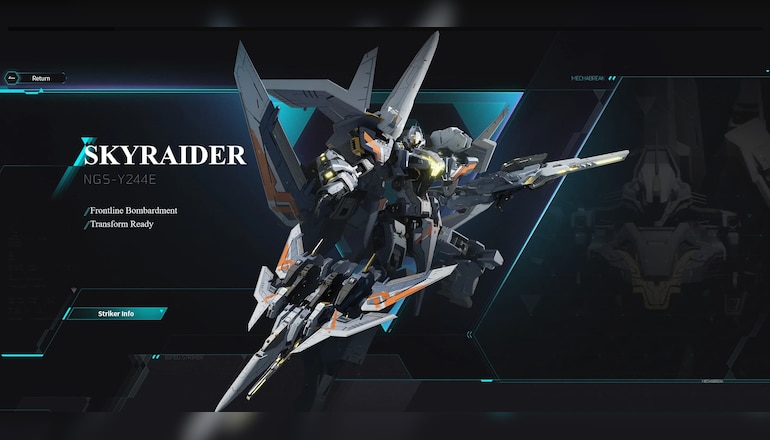
Skyraider (Medium Attacker)
Zoning-oriented mech with strong anti-armor potential and flight capability.
- Plasma Cannon – core ranged damage
- Energy Missiles – creates denial zones
- Jamming Smoke – blocks incoming energy-based attacks
- Aerial Assault – activates flight mode with supporting drones
- Micro Missiles – quick AoE burst
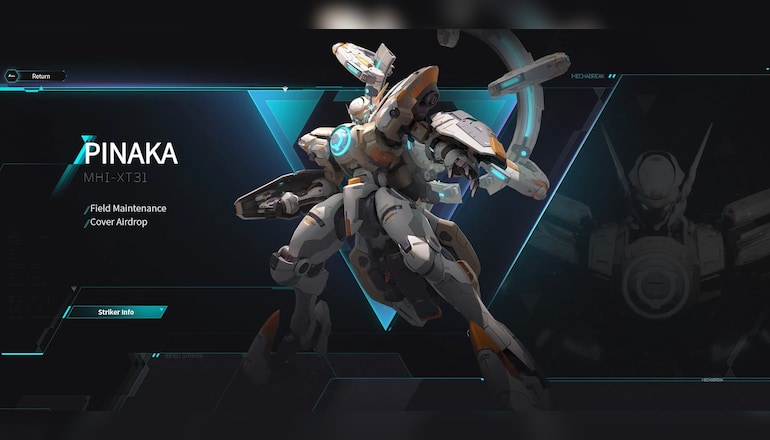
Pinaka (Medium Support)
Focused on sustaining individual allies while countering snipers.
- Repair Grappler – tethers to heal over time
- Repair Drone – passive healing field
- Cover Airdrop – deploys visual barrier to break enemy sight
- Emergency Drone – burst healing and stasis effect for allies
Strikers Breakdown – Heavy and Ultra-Heavy Mechs
Heavy Mechs
Tricera
Maybe it’s slow, but it doesn’t flinch. Tricera just stands there, taking hit after hit. It’s the guy who doesn’t back down when things get loud.
- The Siege Cannon is not exactly precise, but it’s wide. Useful when enemies crowd behind cover or shove forward together. It’s more about noise than aim.
- Reactive Armor kicks in once they start focusing you. Not magic, but it helps. Buys seconds and sometimes, seconds are all you get.
- Kinetic Barrier drops a shield up front. Doesn’t stay long, but gives you or a teammate a chance to move without dying.
- Anchor Mode? You stop moving. But you also stop dying. It makes you harder to break. Pick a spot and say “no further.”
- Displacement Punch is that “get away from me” move. Knocks people back. Clears room when someone dives too close.
Tricera isn’t chasing anything. It holds, it blocks, it survives. That’s its job and it does it well.
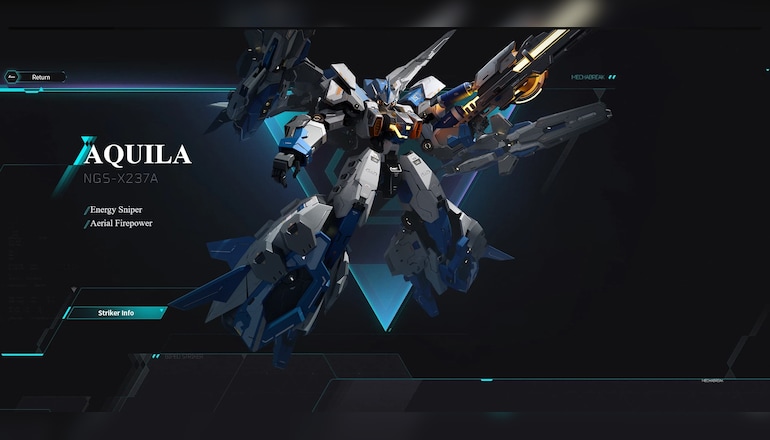
Aquila
Aquila likes tight spaces and messy fights. You push in, you make noise, you hope they blink first.
- Twin Cannons? Short-range burst. You want to be in someone’s face. Best when they’re low or not looking.
- Burst Slam blasts around you. Not huge damage, but it stops whatever they were trying to do. Resets the chaos.
- Magnetic Grappler pulls a target in. Isolate, punish, combo that is your choice. If they’re far, now they’re not.
- Plasma Overdrive gives more power for a short time. Dive in, hit hard, get out before they wake up.
- Ablative Armor gives you a small defensive window. Not long but enough to break a line or push through a door.
Aquila plays fast and loose. Don’t stall. Dive, disrupt, disappear.
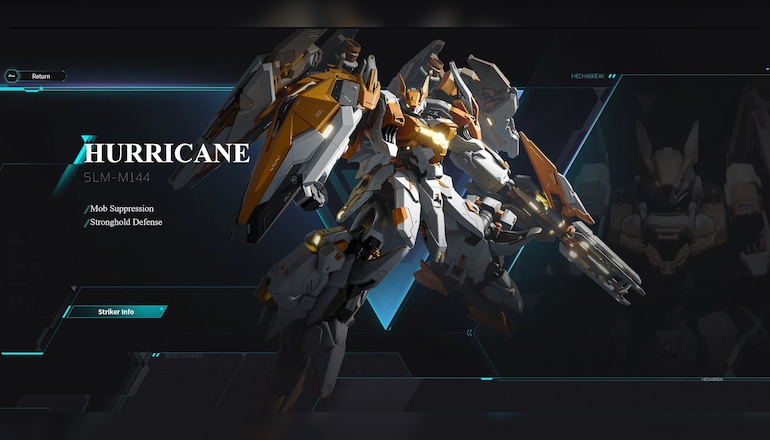
Hurricane
It’s not flashy and loud but Hurricane keeps your squad from falling apart. It makes fights last longer and winnable.
- Barrier Projector? Quick wall. Blocks damage. Save a teammate. Block a shot. Buy time.
- EMP Array shuts down abilities in a tight bubble. Best used when the other side is winding up something big.
- Sensor Beacon watches your back. Anyone sneaking or cloaked? It spots them. No surprises.
- Nano Shield heals armor slowly. Don’t rely on it solo. But over time, it keeps people from backing out.
- Anchor Drone locks allies in place. Can’t be pushed, pulled, tossed. Good for standing firm.
Hurricane belongs where space is tight. Corners, objectives, chokepoints. It makes your position harder to crack.
Ultra-Heavy Mechs
Stego
It’s not fast but it doesn’t need to be. Stego just sits there and makes staying in one place a bad idea.
- Volcanic Barrage? Think chaos. Missiles drop all over, so if you’re clumped up or behind something? Good luck.
- Thermal Core kicks in for a bit, juicing your damage. Nothing fancy—just hit harder for a few seconds. Use it before things pop off.
- Shockwave Pulse shoves people back. Someone dives you? Boom—space cleared.
- Titan Plating’s always working. No need to press anything. You take less damage, period. Just tougher, always.
Supercharger gives you a jolt, move faster, shoot faster. Not for style. It’s how you survive or end a fight quick.
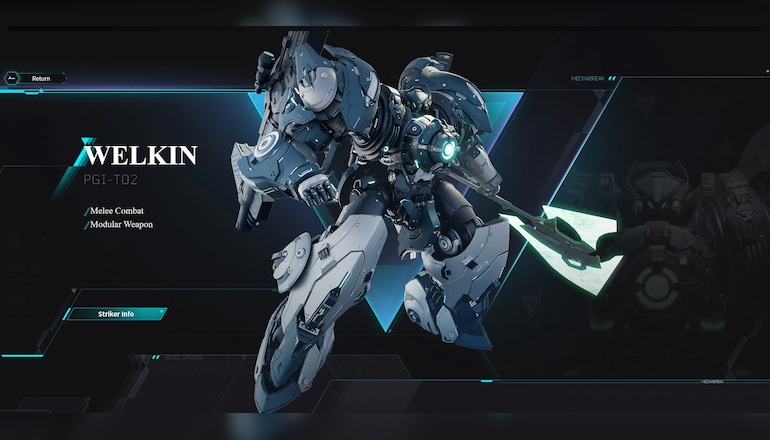
Welkin
It blocks off half the map just by walking into view.
- Fortress Shield throws up a massive wall in front of you. Want to push up or deny a sightline? This does it.
- Pulse Hammer’s your answer to anyone too bold. They come close, they get hit—simple.
- Energy Sink eats damage. You stand there, it charges. When it’s full? Boom—everyone near you feels it.
- Juggernaut Drive shrugs off slows and stuns. You keep walking. Abilities meant to stop you? Not at all!
- Auto-Turrets give cover fire and watch the sides. Set them and forget them. More eyes, more fire.
Welkin isn’t about finesse. It walks in, blocks shots, and dares people to try and stop it.
Inferno
It won’t get MVP, but Inferno’s the reason your team doesn’t collapse.
- Repair Wave slowly heals teammates nearby. Not instant. But it stacks. Makes losing fights winnable.
- Barrier Dome pops a shield bubble. Big. Great when you’re on point or need a last stand.
- Dispel Field clears bad stuff like it burns, slows, whatever. Use it mid-fight to clean your frontline up.
- Overclock Matrix boosts damage and reloads for allies. Time it right before the push.
- Anchor Field locks your team in place. You hold your ground.
Inferno’s not loud. But when fights go long, it’s the mech that keeps everyone standing.
Summing Up
This Mecha BREAK Strikers Guide gives a straight-up breakdown of the game’s 15 mech options, split across weight and combat classes.
It explains how each mech’s role and build affect your gameplay and why understanding your Striker is key to not being dead weight in matches.

