


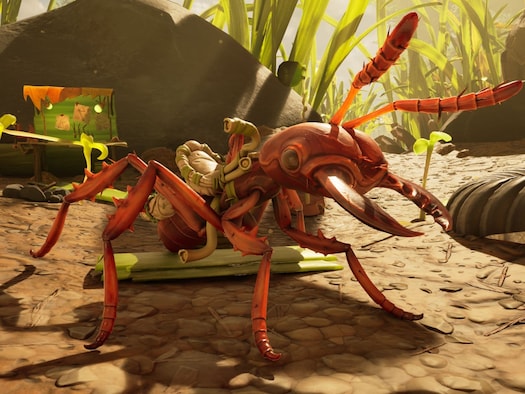
For the first time in the series, Grounded 2 introduces mounts, and here’s how you can get your first one!
Survival and exploration in Grounded 1 were fun. However, with the introduction of bug mounts (Buggies) in the sequel, the adventure becomes even more immersive!
The only problem is that to unlock your first mount, you have to find Red Soldier Ant Eggs, which can be tricky. Nevertheless, it’s worth the effort, as such a rideable Buggy can help you harvest, haul, or even fight. So where can you find them?
How to Get Red Ant Eggs in Grounded 2: A Complete Guide
What Are Red Ant Eggs in Grounded 2?
There are two types of ant eggs in the game – Red Worker Ant Eggs and Red Soldier Ant Eggs. As you already know, the latter are necessary for unlocking your first mount, which you can achieve by completing the Egg Hunt mission. And yes, the game will guide you to your first Buggy, but it will do its best to make the challenge as complicated (and frustrating) as possible!
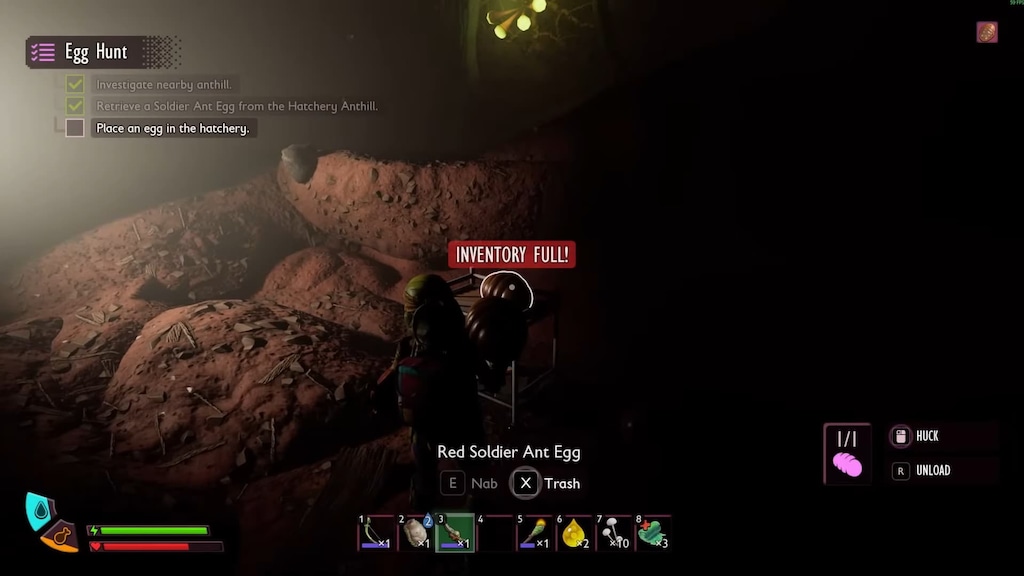
Keep in mind that Soldier Eggs look different from Worker Eggs, as they are much smaller and redder, so try not to confuse one with the other.
Where to Find Red Ant Eggs
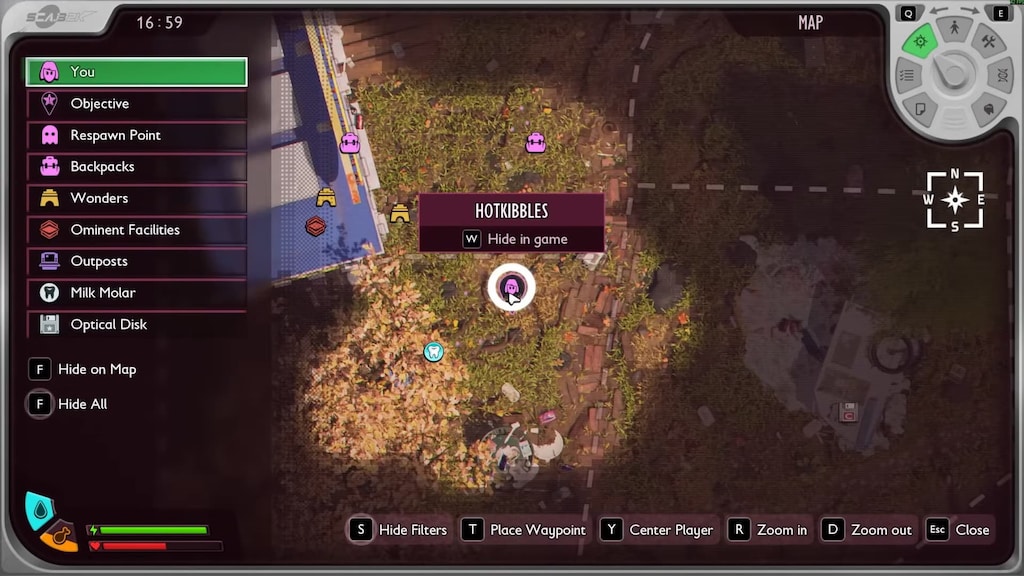
Okay, let’s get down to business! You can find Red Soldier Ant Eggs in the Hatchery Anthill, accessible through two entrances – a northern one in the Snackbar Front zone and a southern one in the Entrance area. The latter interests us the most, as that’s where you must enter the spot to continue with the quest. Prepare well before entering the Hatchery Anthill, as the location is heavily guarded by aggressive Red Soldier Ants and occasionally a mammoth ORC Orb Weaver Spider!
How to Collect Red Ant Eggs
Gear up before entering the Anthill by equipping Acorn armor, a decent one-handed weapon (you’ll need a second hand to carry the torch and the egg!), torches, and healing items. Also, remember to eliminate as many Soldier Ants as possible before picking up the egg, and use lighted paths on your way back. Then, follow these steps:
- Enter the Anthill Hatchery via the southern entrance.
- Head left and follow the wires visible on the ceiling and the gray tube on the floor until you reach a computer terminal.
- Then, follow the cable extending from it (on the left) past the ladder and a massive battery until it leads you to a tunnel on the left.
- Once you see a computer panel, turn left.
- Follow it until you reach a devastated lab and go to the opposite entrance.
- Go down the tunnel until you discover a small metal cart filled with Red Soldier Ant Eggs – take one and make your way back, holding the egg in one of your hands to the southern entrance (it won’t fit in your inventory, so you’ll need one hand to carry it and the other to fight the remaining foes).

Using Red Ant Eggs
Once safely retrieved, place the egg in your Hatchery along with the required saddle components to hatch a Red Soldier Ant Buggy. To ride the Buggy, you’ll need a saddle crafted with:
- 2 Grub Hides
- 3 Sprigs
- 1 Acorn Shell
This Buggy will help you move faster, carry more resources, and provide combat assistance in the most challenging zones!
Tips and Tricks
- Equip strong gear before entering the Anthill, preferably the Acorn armor and a decent one-handed weapon.
- Bring a torch for visibility on your way back from the Anthill.
- Eliminate ants on your way in to make the way out easier.
- Keep track of the egg’s timer – if you are too slow and don’t get it into the Hatchery within about 16 in-game hours (before the timer runs out), it will hatch into a regular bug.
- Explore alternative Anthill locations, like Toxic Anthill under the Picnic Table area, for backup eggs.
Conclusion
Don’t give up if your first escapade to the Anthill turns out fruitless, as the ants become truly aggressive once you steal their precious egg. Many players struggle with the same issue! The key to completing the quest is proper preparation, and the reward is truly worth the effort!