


There’s quite a lot of stuff hidden in Hogwarts Legacy. Today we’ll be revealing some of the game’s secrets you might’ve missed.
- Introduction
- Gryffindor Tower – Seemingly Inaccessible Room
- The Werewolf Tapestry Room
- The Deathday Party Room
- Professor’s Sharp Hidden Room
- Hogwarts Secrets 1 – The Viaduct Bridge Puzzle
- Hogwarts Secrets 2 – The Pendulum Puzzle
- Hogwarts Secrets 3 – Quill of Acceptance and Book of Admittance Room
- Conclusion
You can find Hogwarts Legacy Deals on G2A.COM.
Introduction
Hogwarts Legacy developers made sure to include some interesting secrets only those who are willing to explore everything have a chance to find. And that’s amazing, as it perfectly fits this fantastic world of magic full of wonder and mystery.
It’s worth noting that if you’re an adventurer at heart, you shouldn’t have a problem discovering most, if not all of the secrets on your own – they are hidden, but not in a way that would make it nigh impossible for curious individuals to find without help.
With that being said, if you want to make sure you haven’t missed anything that’s worth seeing, we’ve prepared a simple guide that will take you through the places that weren’t meant to be found by just anyone.
So, here’s how to find secret locations in Hogwarts Legacy.
Gryffindor Tower – Seemingly Inaccessible Room
Starting off with an easy one.
- Go to the Clock Tower Courtyard Floo Flame (fast travel point) and go north through the nearby door.
- Then cross to the other side and to the Gryffindor Tower and immediately turn right when inside.
- Follow this path and you’ll find yourself standing on stairs.
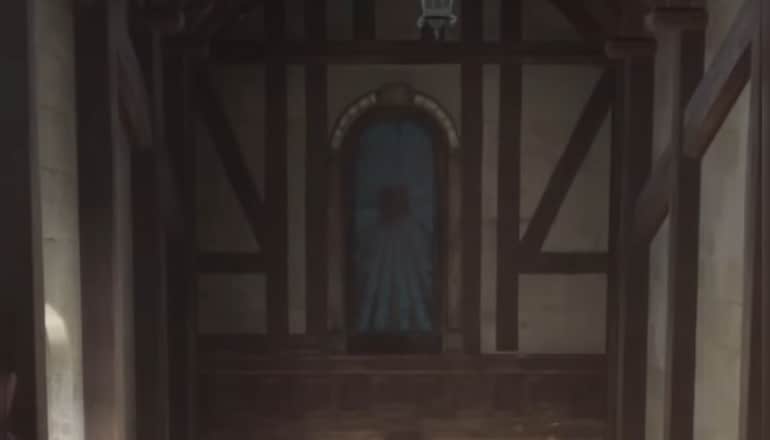
- If you turn around now, you’ll see an inaccessible door up there. There’s no ladder or anything; frankly, one would’ve thought it’s not a place you could go; just a mere decoration of sorts to make the whole place look more magical.
- But you can, in fact, enter that room, and it’s surprisingly easy. All you have to do is turn around again and keep going up the stairs until you find a toad statue on the right side. Interact with the statue and you’ll be teleported directly into the aforementioned room.
Inside you’ll find a treasure chest with a unique wand handle.To exit the room, simply open the door and jump down. You’ll lose some health, but it’s far from being enough to kill you unless you’re already in a barely alive state
The Werewolf Tapestry Room
Now to a more hidden one. Using the Revelio spell could help you find it on your own; even though the spell doesn’t highlight the entrance itself, it does highlight a treasure chest inside, which can make you start wondering how to get there. Once this thought has entered your mind, there’s a chance you could’ve figured it out yourself by simply going around and trying to poke all nearby objects.
- To find this place, start from the Bell Tower Courtyard and go inside the castle.
- Go up the stairs on your right and go straight through the door in front.
- Then, go downstairs and through the door again.
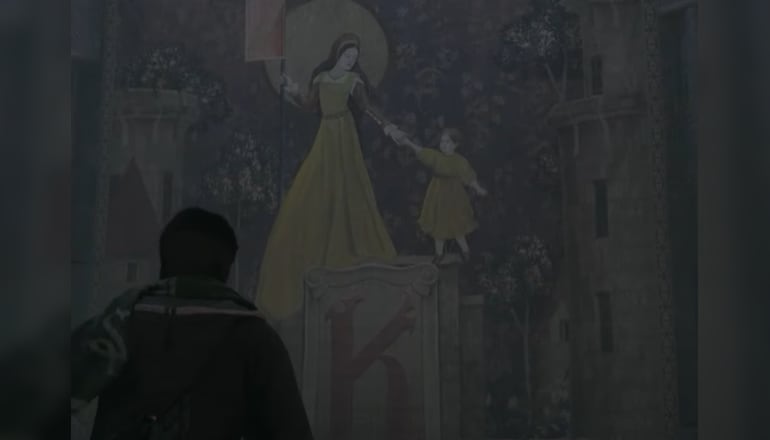
- You’ll find yourself standing in front of a large tapestry on the wall with a big letter “K” at the bottom.
- It doesn’t raise any suspicions at all, but that’s exactly where the entrance is: the letter “K” is painted on a well-hidden door. Go through it and you’ll find some werewolf-related secrets.
The Deathday Party Room
- From the Viaduct Courtyard fast travel point, go up the stairs and through the archway to the courtyard. Go through the huge double door into the castle.
- Once inside, turn right; don’t go upstairs. Instead, go through the door below the stairs. Go down the long spiral staircase into the dungeons. Once there, go left, and then left again.
- Follow the corridor and you’ll find a closed iron bar door on your left. You’ll need level 1 Alohomora to open it.
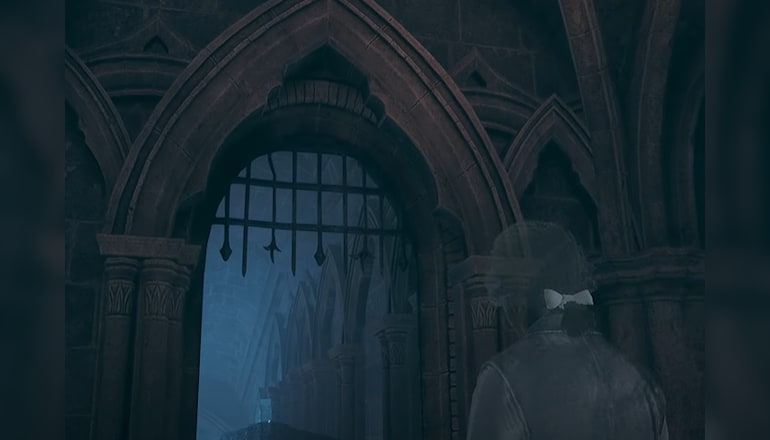
Now just follow the path behind the door and eventually, you’ll find yourself in a large ballroom with ghosts dancing in the air and candles glowing in a beautiful shade of blue, creating a magnificent and noble atmosphere.
Make sure to make the most out of your first visit here, because when you return here later, the party will be over. You can take some screenshots to remember the scene, and we strongly advise to do so, as it’s easily one of the most memorable moments in the game.
Professor’s Sharp Hidden Room
- Start from the Faculty Tower fast travel point. Go south and take the first turn right.
- Go through the door and up the stairs you see in front of you. Keep going until you see a cabinet and a door next to each other. It’s a level 3 lock door.
- Unlock it and you’ll find yourself inside the professor’s Sharp room. Take your time and loot the place, there are some chests for you to open.
- Once done, use Glacius on the fireplace and you’ll reveal a secret passage to a room filled with beautiful sketches and various inventions. There’s also a brazier, so make sure to use a fire spell to receive your guide page.
Hogwarts Secrets 1 – The Viaduct Bridge Puzzle
There is a bridge between The Library Annex and The Great Hall that has 4 braziers on it. On the ground you’ll find a solution to the puzzle: there’s a golden circle with symbols, and each symbol has a Roman numeral next to it.
If you inspect the 4 braziers on the bridge, you’ll notice the same symbols and numerals on them. Light up the braziers with a fire spell and rotate each brazier until it has the correct number on it. Doing so will open a hidden passage, allowing you to go under the bridge and collect the treasures.
By itself, this location isn’t particularly interesting, but it counts for the “Solve Hogwarts Secrets” challenge, which requires you to enter 3 different hidden chambers.
Hogwarts Secrets 2 – The Pendulum Puzzle
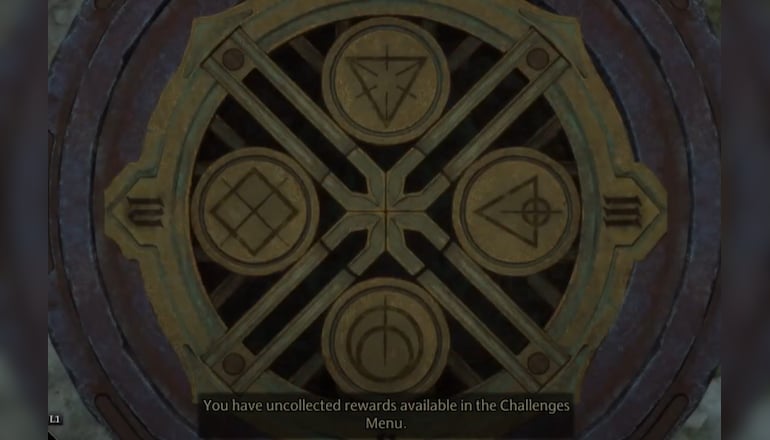
The second “Solve Hogwarts Secrets” challenge involves the huge pendulum that can be easily found by teleporting to the Clock Tower Courtyard – it will be right there.
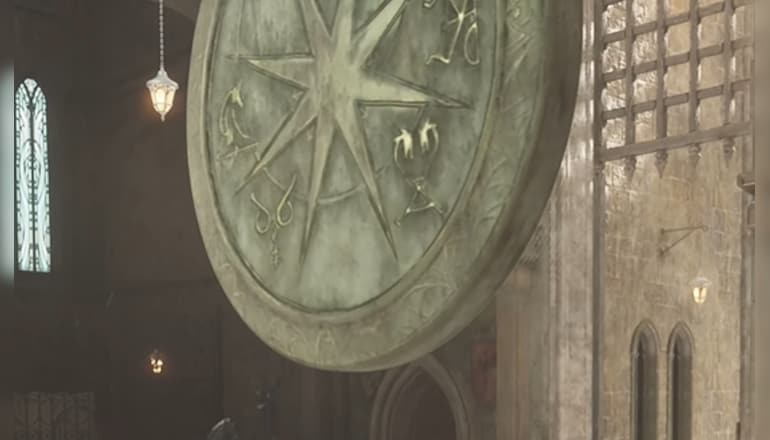
If you look up at the pendulum, you’ll notice 4 circles, each having a different symbol on it. The symbols match the symbols found on 4 different doors in this area. You can freeze the pendulum with Glacius when it’s hovering over one of these symbols to open the corresponding door.
Open and enter all 4 rooms to complete the second challenge.
Hogwarts Secrets 3 – Quill of Acceptance and Book of Admittance Room
This one’s a secret location you wouldn’t want to miss as it’s not only a very pretty and unique-looking room that emits an aura of grand mystery, but also a really important one when it comes to the lore of the Harry Potter universe.
To get there you’ll first need to acquire the key from the Headmaster’s Private Tower Room which can be accessed by going to the Headmaster’s Office and opening a level 2 lock door. The key will be lying on the desk. The Headmaster’s Office itself becomes available late into the main quest.
Once you have the key, leave the office and go back down the spiral staircase. Follow the large hallway and you’ll find a locked door with a peculiar kind of lock. Open it using the key you just picked up. This alone will complete the final “Solve Hogwarts Secrets” challenge, but there’s more.
Go inside and up the stairs and you’ll find yourself in a small, tranquil, and aesthetically pleasing room with a quill and a book in the middle. As it turns out, these are of extreme importance; this is where the names of all current and future Hogwarts students are being recorded, even before they set foot in the school, as soon as they start to show signs of magic.
Conclusion
Hogwarts Legacy hides a lot of secrets only the most keen and observant players could discover by themselves. Thankfully, in the Information Age, we have all the necessary knowledge available at our fingertips; by combined efforts of players from all around the world, we can easily crack any mystery and puzzle there is. By using our hidden passage guide you’ll be able to find whatever you might’ve missed, allowing you to get the fullest experience out of the game.