

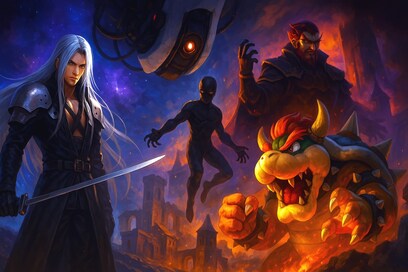
The Most Memorable Bosses in Gaming History
Uncover the most legendary and unforgettable boss fights in video game history, from thrilling challenges to iconic villains.

Video Game Releases 2025 - Month-by-Month Highlights
Discover the most exciting video game releases of 2025 with our month-by-month breakdown. Stay updated on must-play titles!

The Most Anticipated Video Games of 2025
Explore the most anticipated video games of 2025. Check out upcoming RPGs, action-adventures, and indie hits set to redefine gaming...


Latest News
See all Latest News
Every Day We Fight launches into Early Access, bringing time-looped...
Hungry for more XCOM? This alternative should be the humans vs aliens tactical snack you’ve been missing.
Rick and Michonne Enter Dead by Daylight: New Perks, Synergies...
Rick and Michonne from The Walking Dead are coming to Dead by Daylight. Here’s what you need to know about...
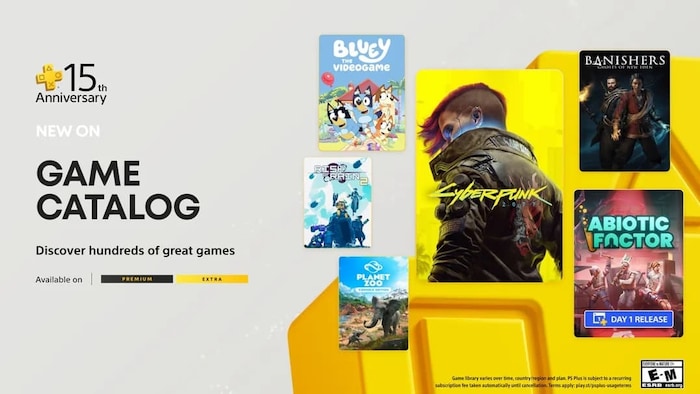
PlayStation Plus Extra and Premium July Games Revealed!
Sony has just announced new games for the Extra and Premium tiers of PlayStation Plus. It’s one of the best...
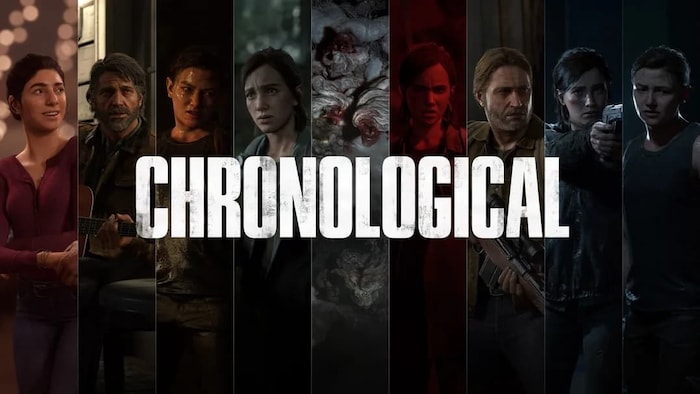
The Last of Us Part II Remastered Adds Chronological Mode...
Chronological Mode in TLOU2 Remastered lets fans relive the story in order, with new trophies and skins for Joel and...


Gaming Entries
See all Gaming Entries
Best Games with Seasonal Content and Updates
Discover games that deliver ongoing seasonal updates, offering fresh content, events, and rewards for players to enjoy.
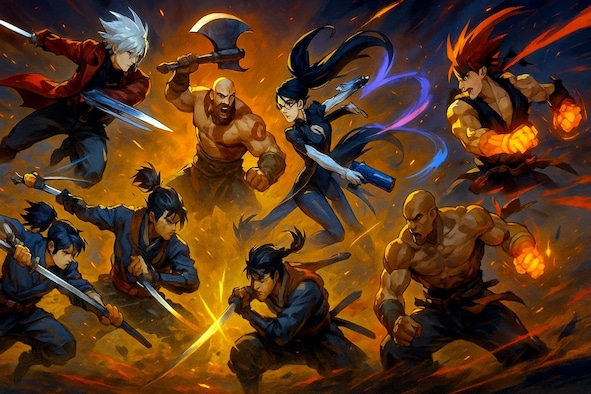
Best Games with Combo-Based Combat Systems
Master the art of chaining attacks with these top games that feature deep combo-based combat systems and innovative mechanics.
Top Games Set During the Cold War
Explore the best Cold War-inspired games, combining espionage, stealth, global politics, and historical tension.
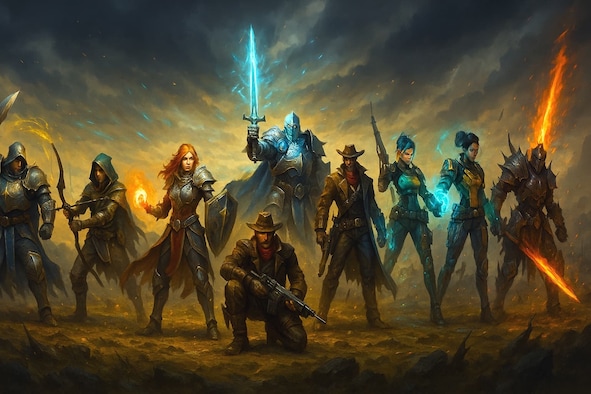
Best Games that Offer Hybrid Class Systems
Discover games that empower players to create unique hybrid class builds by mixing skills, abilities, and roles.


Guides
See all Guides
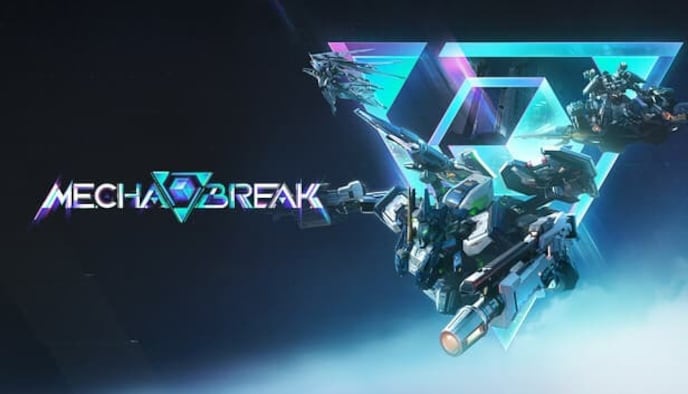
All Mecha BREAK Strikers and Classes Explained: Your Tactical Guide...
Mecha BREAK just landed with 15 Strikers, tossing players into blistering sci-fi warfare packed with boosters, missiles, and mecha clashes.
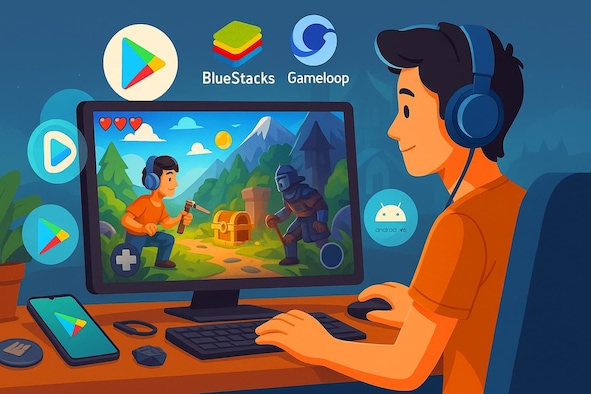
How to Play Mobile Games on Your PC
Let’s be honest — playing a fast-paced shooter or a complex strategy game on a tiny phone screen isn’t ideal....
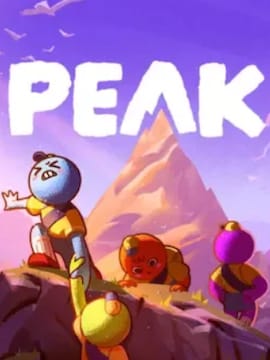
10 Essential Beginner Tips to Survive Your First Climb in...
Ready to conquer the mountain in Peak? Check out these 10 must-know beginner tips to help you and your squad...
PEAK Healing Guide: How to Recover and Support Your Team
Peak is a cooperative climbing game where you and other scouts try to reach the top of a treacherous mountain.
Software Entries
See all Software Entries
Top 5 New Features in Office 2024: What’s Changed and...
Take a look at Office 2024 and its 5 new features that will make your work simpler, more organized and...
What Is Discord? A Complete Guide to Features, Uses, and...
Discover what Discord is, how it works, and why it’s the go-to communication platform for gamers and communities. Learn about...
Best Hidden Features of Windows 11 You Probably Didn’t Know...
Windows 11 is packed with hidden features that can transform your workflow. From productivity shortcuts to advanced security options, uncover...
Top Windows 10 Keyboard Shortcuts You Should Know
Windows shortcuts are a great way to ensure your work and daily usage


Security Entries
See all Security Entries
Protecting Your Privacy on Windows 11: What Settings You Should...
Windows is one of the leading operating systems for computers worldwide.
Understanding Two-Factor Authentication: What It Is and Why It Matters
As the scale and scope of threats present in the digital world expand, more and more cybersecurity measures are necessary...
Phishing Alert: Avoiding Online Scams and Schemes
Browsing the Internet, as fun and useful as it is, puts you at risk of all kinds of scams and...
Top 5 Internet Safety Rules & What Not to Do...
Much of modern life is now happening online. Work, entertainment, banking, communication, and…


Lifestyle
See all Lifestyle
The Rising Popularity of Netflix Gift Cards from Turkey: What...
Learn why Netflix Gift Cards from Turkey are becoming popular worldwide. Discover the reasons for their appeal, pricing policy, and...
How Much Is Netflix a Month in 2025? Subscription Plans...
Would you like to know what Netflix price look like in other parts of the world? Are you curious about...
Netflix Plans Comparison: Which Subscription Is Right for You?
Explore Netflix plans and pricing to find the best subscription for your needs. Compare features, streaming quality, and simultaneous streams...
5 Reasons to Use Crunchyroll – A Guide for Anime...
Discover why Crunchyroll is a must-have for anime fans! Explore its vast library, simulcast episodes, ad-free streaming, and more in...


Codes
See all Codes
Anime Defenders Codes (April 2025)
Anime Defenders codes – use them and build your incomparable team with superior abilities!
Grand Piece Online - GPO Codes (April 2025)
Find all the latest Grand Piece Online codes for January 2025 and set sail on new adventures.
Anime Last Stand Codes (April 2025)
The Anime Last Stand is a popular tower defense game that has gained huge popularity
It Girl Codes (April 2025)
Want to unleash your creativity in the best fashion game on Roblox?


Gaming Glossary
See all Gaming Glossary
What Is Inventory Management in Gaming?
Learn how item handling systems affect challenge and immersion.
What Is a Turn-Based Game?
Discover how turn-based gameplay emphasizes planning and strategy.
What Is Voice Chat in Gaming?
Explore how voice chat improves team play and online coordination.
What Is Auto-Save in Gaming?
Learn how automatic saving prevents data loss and improves accessibility.
G2A News is an excellent source of information on the gaming industry and the best offers on the G2A Marketplace. Visit us if you’re looking for information about the most interesting upcoming games, or round-ups of ones already released. We have reviews of the most interesting releases and numerous features exploring the nuances of unique titles. We also have many lists based on different criteria which may help you find and buy a new game to play if you’re starved for ideas. G2A News is your gateway to always being up-to-date with the gaming industry.