


Resident Evil Requiem raises the survival horror stakes with tougher enemies, reanimation mechanics, and deeper crafting systems.


Even series veterans may struggle early on, so these nine essential beginner tips will help players conserve ammo, manage health, and survive their return to Raccoon City.
TL;DR — Quick Survival Tips
- Control fights with noise and positioning.
- Use leg shots for space, headshots for permanence.
- Scrap fragile knives for ammo crafting materials.
- Finish staggered enemies with Leon’s hatchet.
- Heal before escalation, not during panic.
- Reload inefficient encounters to preserve resources.
- Delay crafting until you know what you need.
- Cleared rooms can become dangerous again.
- Use the map to track missed items efficiently.
Table of Contents
Use Noise and Distractions to Control Encounters
Enemies in Requiem react to sound, they investigate movement, and some of them change behavior depending on lighting.
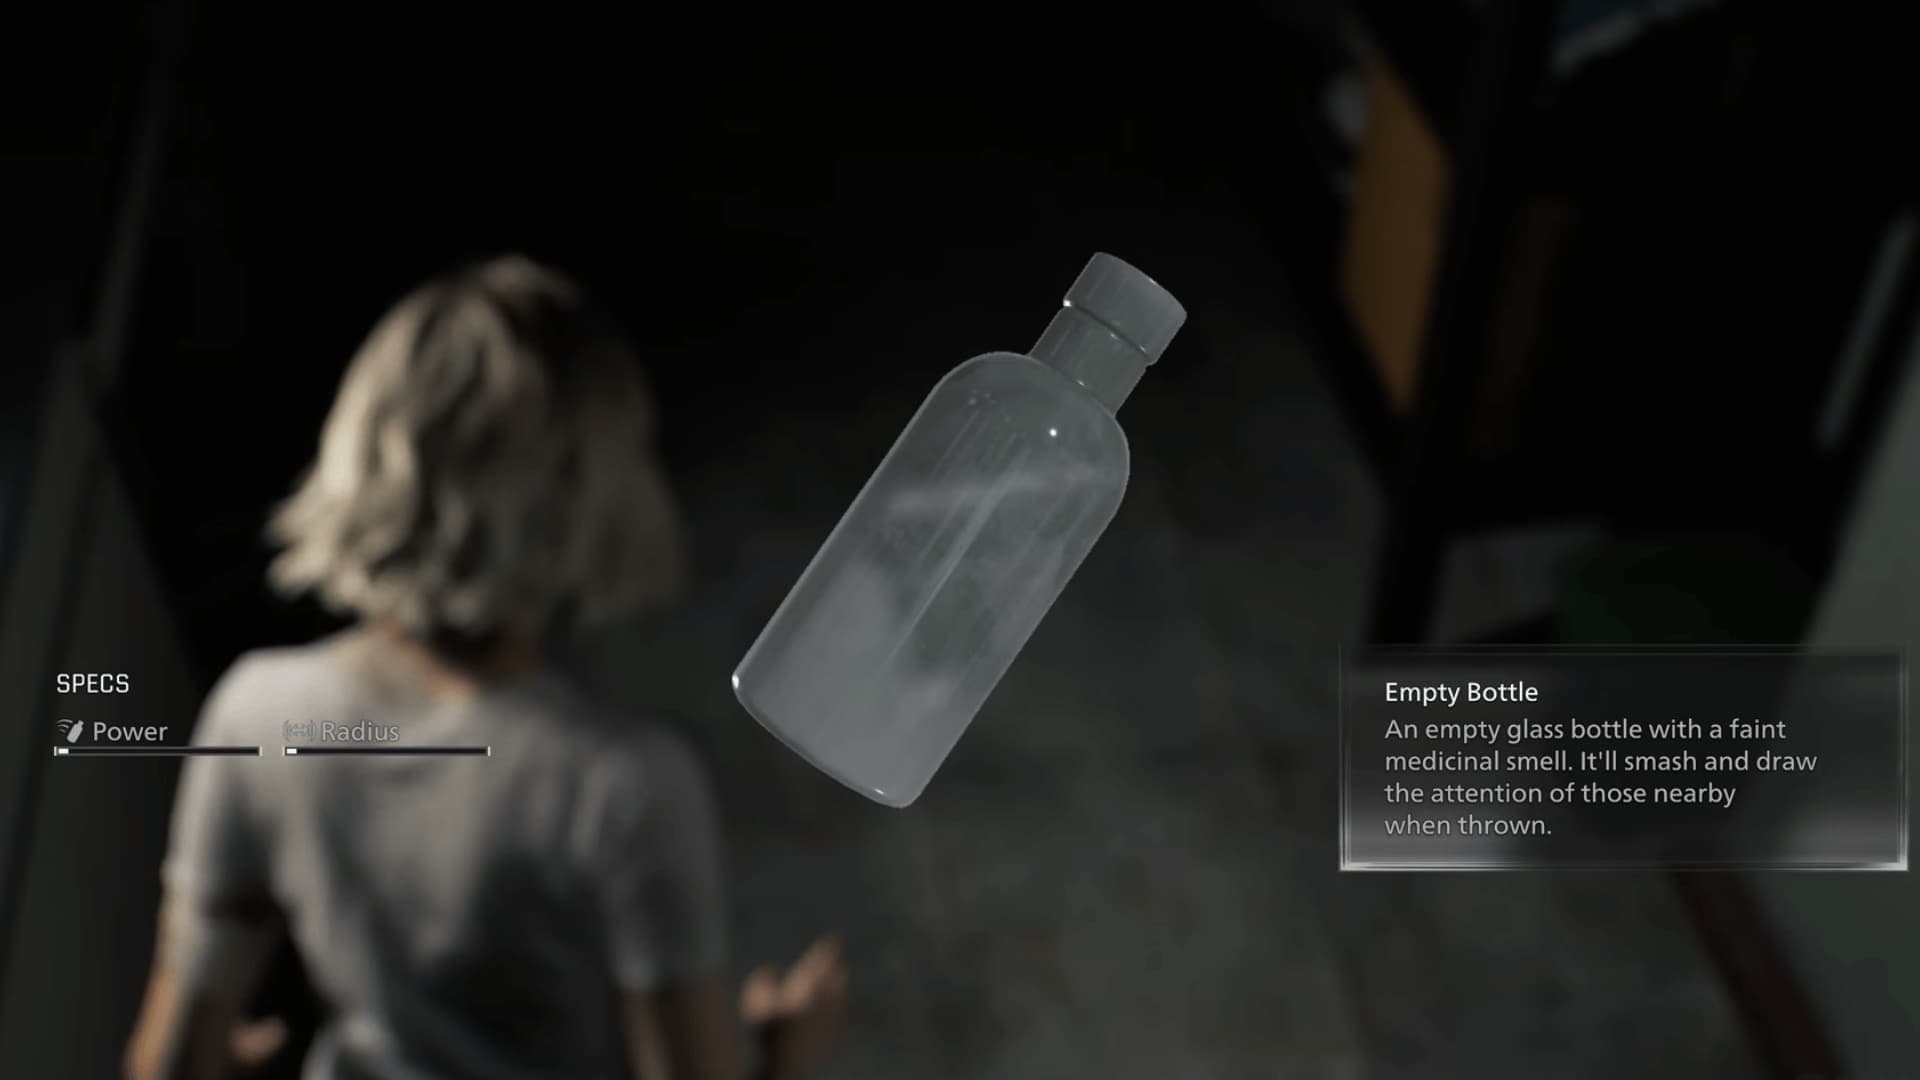
Trying to clear every encounter head-on creates a slow but steady resource drain. Moving enemies instead of killing them often achieves the same result for a fraction of the cost. When two infected block a doorway, smashing a nearby object can split them just enough to slip through cleanly. That kind of small adjustment keeps your inventory stable longer than brute force ever will.
Aim Smart: Headshots vs Leg Shots
Headshots remain the fastest solution, and certain enemy types demand full head destruction to stay down permanently.
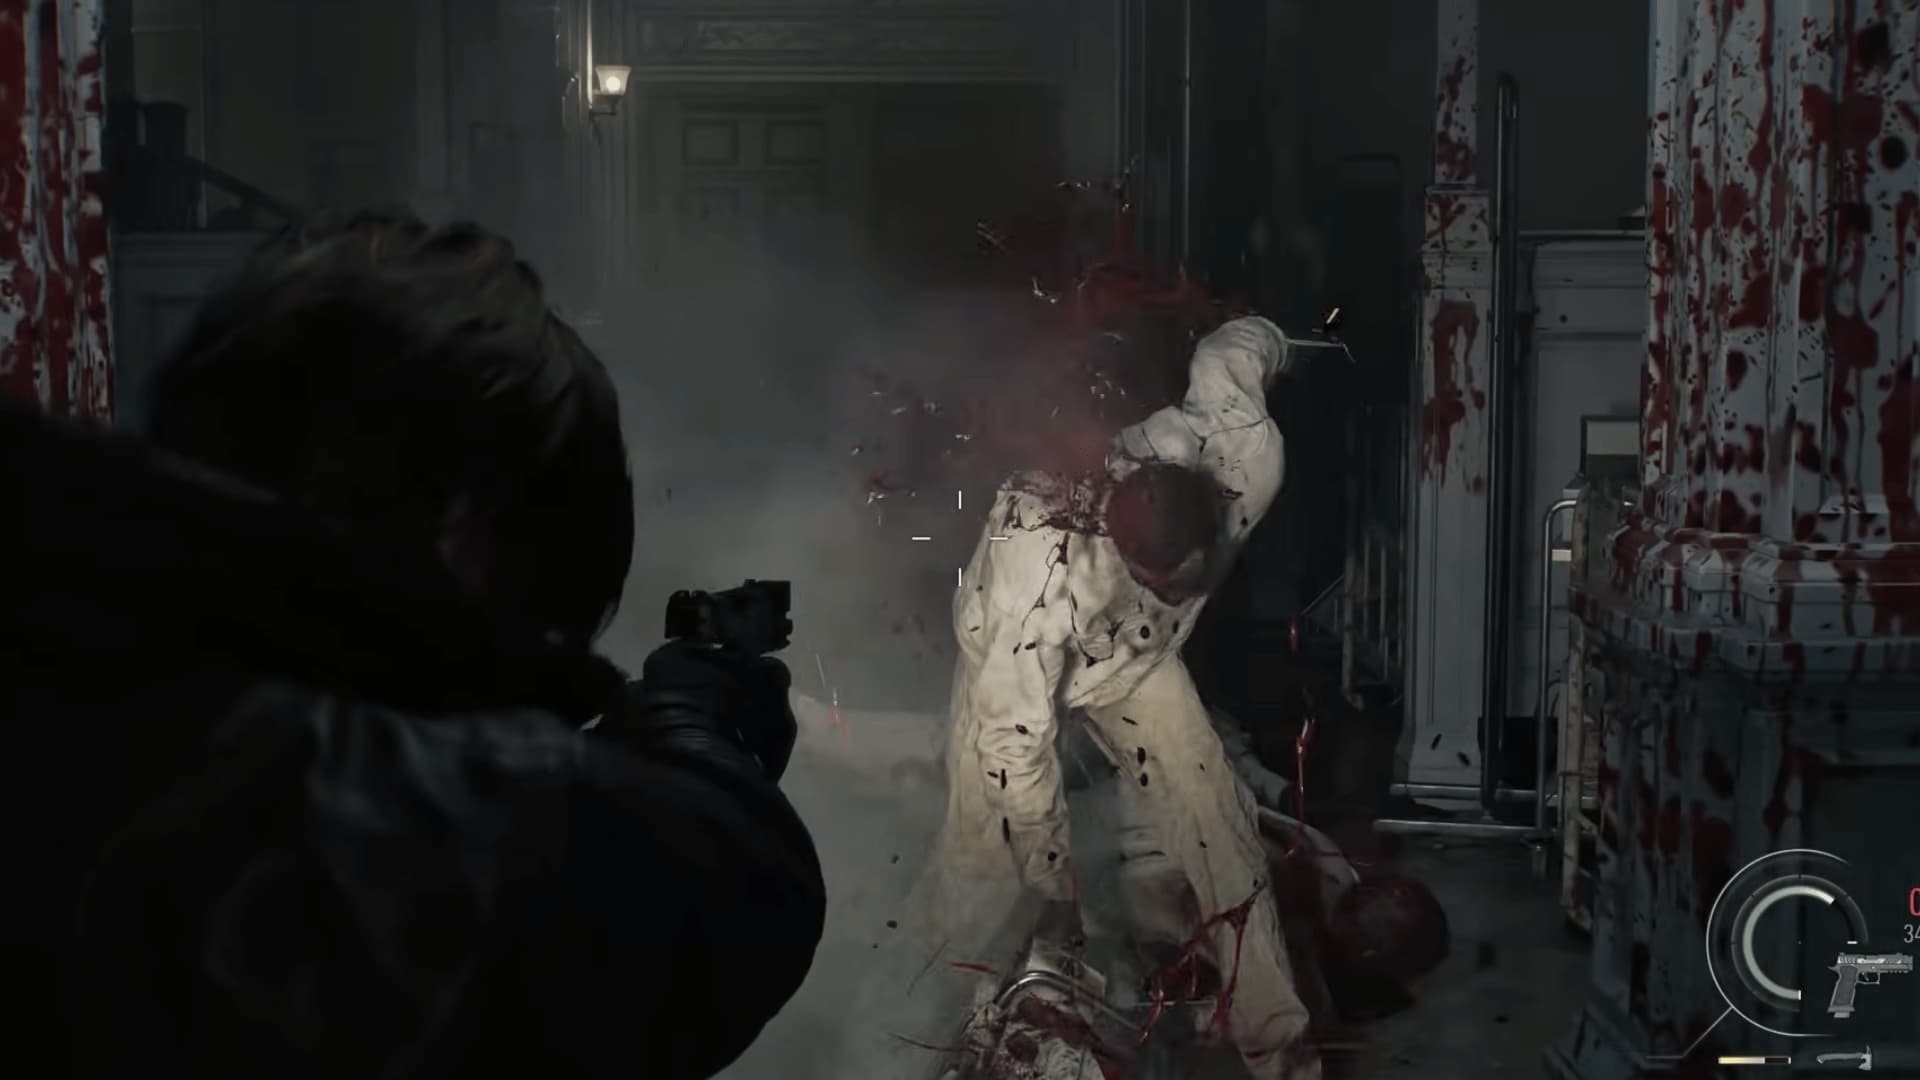
Leg shots interrupt movement and create breathing room. In tight corridors, that stagger window may be all you need to reposition or pass. Spending ten bullets to fully eliminate two zombies in a hallway might feel thorough, but disabling them briefly can achieve the same progress at half the cost.
Scrap Knives for Crafting Materials
Early on, makeshift knives appear often, especially during Grace sections. They seem reassuring in the inventory, like insurance against grabs, yet their durability rarely supports that expectation.
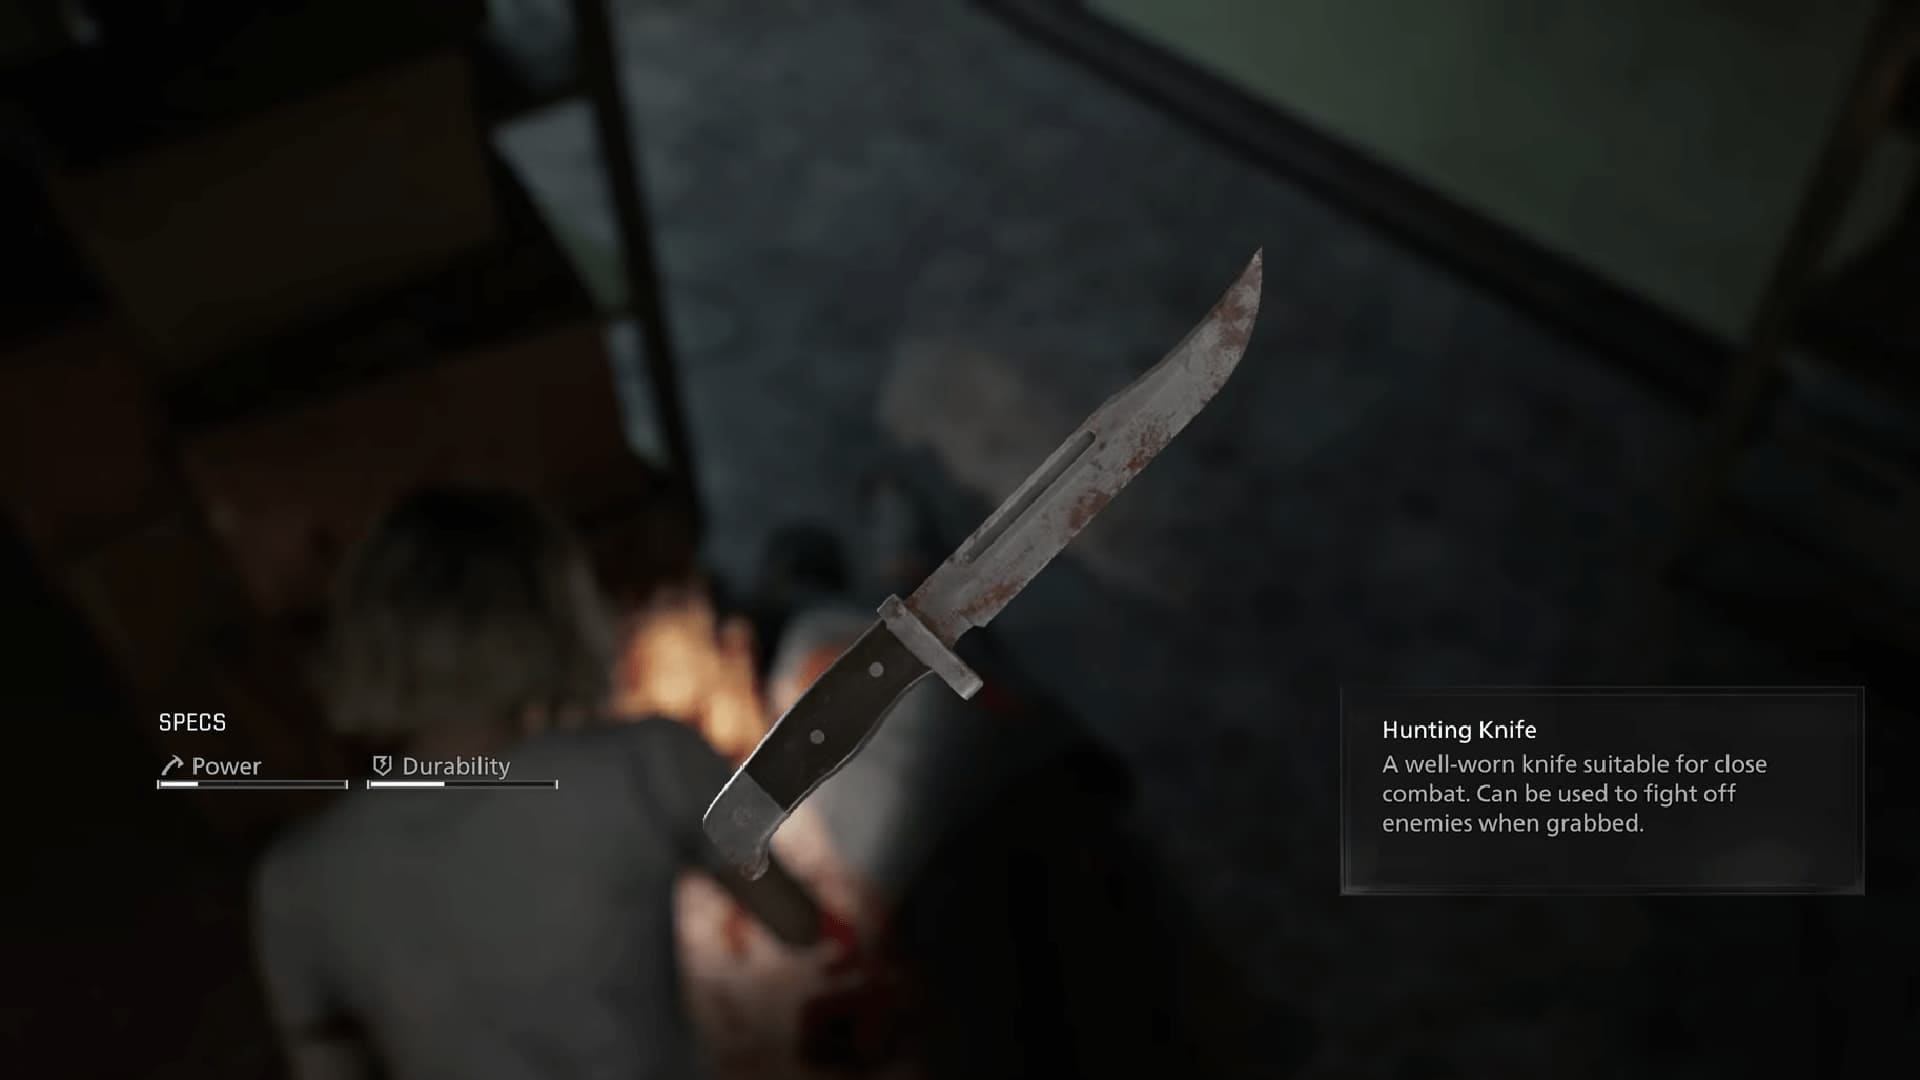
Breaking them into scraps strengthens your crafting economy. Those materials convert directly into handgun ammunition, which carries far more long-term value in the opening hours. When low on rounds, turning a fragile blade into bullets shifts control back to you before a mistake forces a defensive animation.
Master Leon’s Hatchet
Leon’s hatchet does not break, although repeated use dulls it and forces a short sharpening pause. That limitation keeps it from replacing firearms entirely, but it still becomes one of the most dependable tools in your kit.
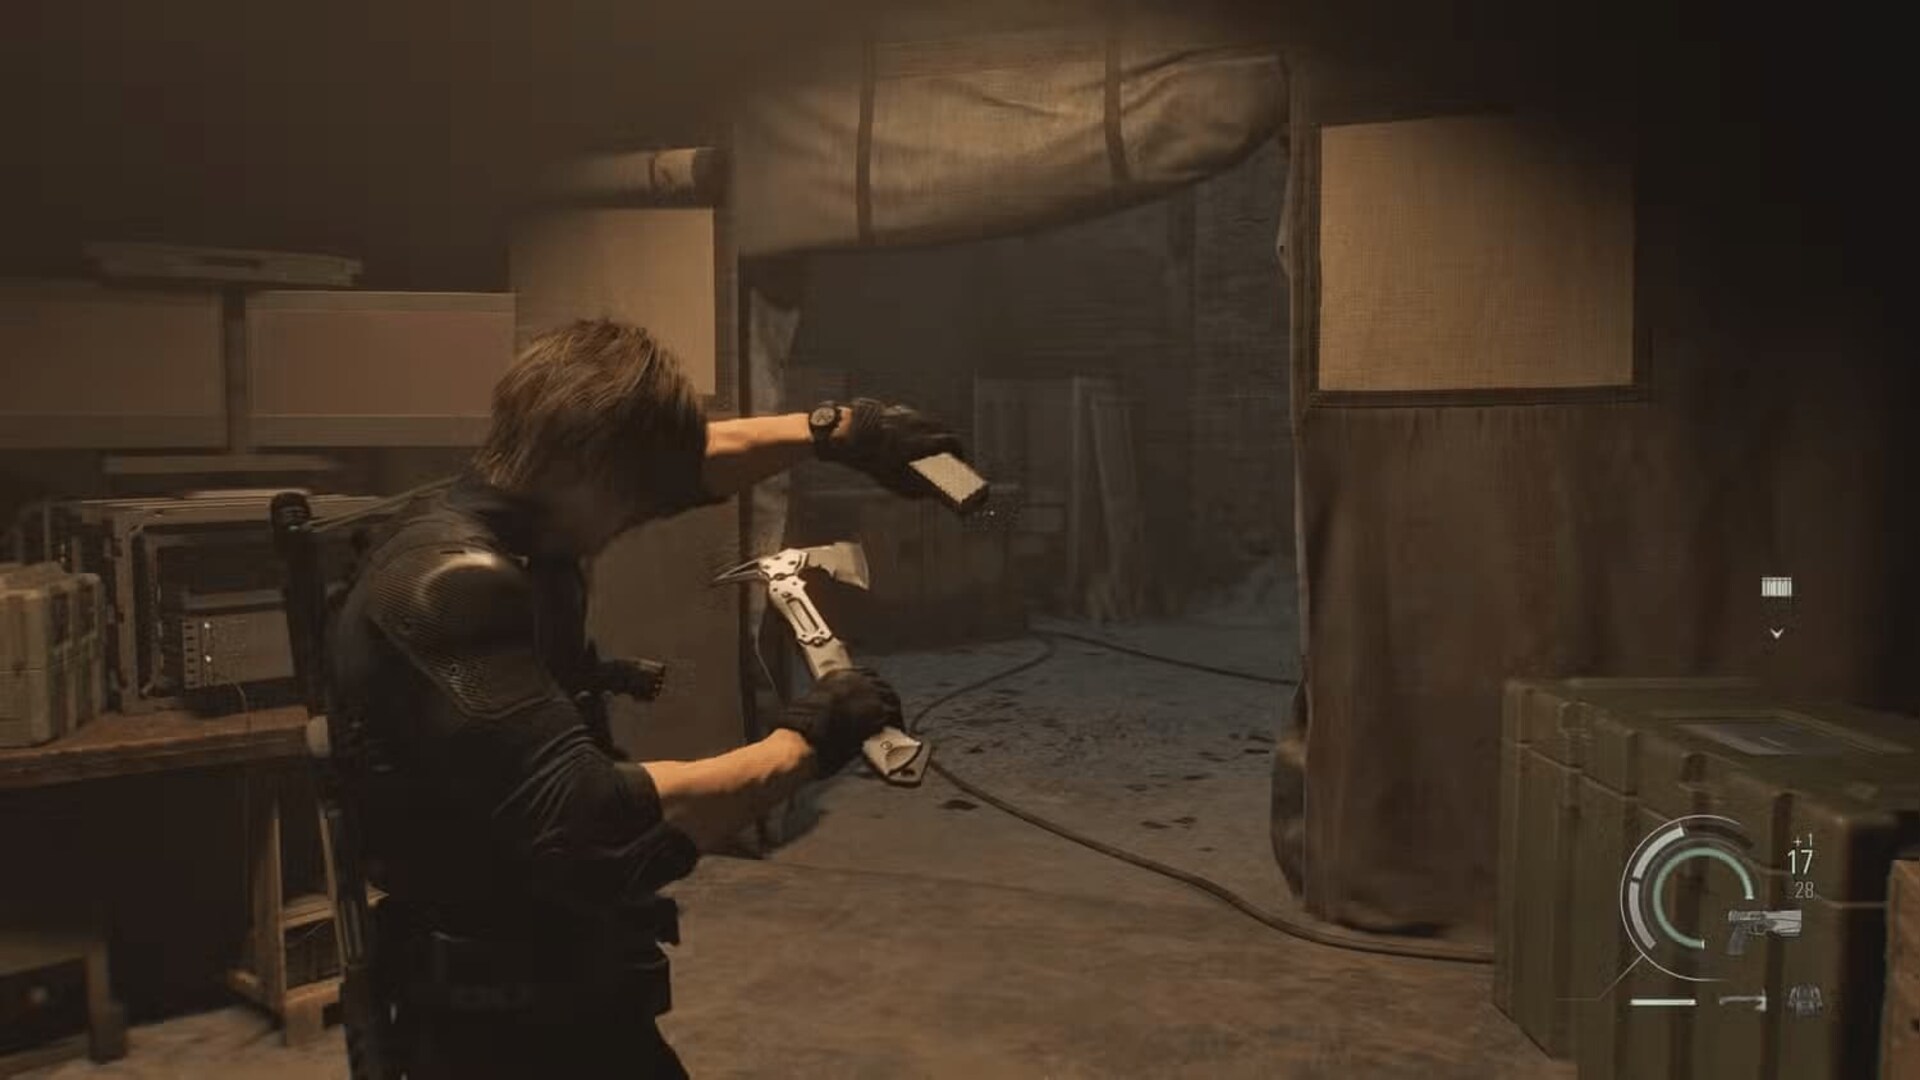
Used correctly, it finishes what your gun starts. After staggering an enemy, stepping in with melee preserves ammo and maintains momentum. Charging healthy enemies without control usually leads to damage taken, so the hatchet rewards timing and positioning rather than aggression.
Monitor Health States Carefully
The shift from “Fine” to “Caution” is something you can notice. At Fine, heavy hits are often survivable, but at Caution, similar damage can end an encounter immediately.

That threshold changes preparation. Entering a boss fight while injured adds unnecessary risk. A simple G+G herb combination restores buffer early, while injectors later in the game provide faster recovery during pressure. Healing works best when done before escalation, not after panic sets in.
Reload Saves to Conserve Early Ammo
The early game offers limited crafting options and includes unavoidable combat segments. Wasted ammunition does not disappear quietly, it compounds.
Reloading a recent save after an inefficient fight can stabilize your resource count for what comes next. Survival horror has always rewarded cleaner execution, and approaching a repeated encounter with better positioning often leaves you better equipped for mandatory engagements ahead.
Delay Crafting Until Necessary
Crafting in Requiem can be done mid-encounter, which means immediate conversion of materials reduces flexibility. Holding infected blood and scraps keeps your options open.
You may think you need more handgun rounds, then encounter an enemy vulnerable to a hemolytic injector. Crafting situationally eliminates the threat quietly and preserves ammunition. Once Stabilizer and Steroid injectors unlock, prioritizing them strengthens both survivability and combat consistency.
Cleared Rooms Aren’t Always Safe
Safe rooms stay safe, but the rest of the map does not politely wait for you to return. Enemies shift positions, patrol patterns change, and bodies that looked finished can stand back up in a worse state than before.
Leaving a corpse without destroying the head or using the appropriate injector is a decision that can cost you later. A hallway you cleared in a rush might look manageable at first, yet coming back through it can mean facing a tougher version of the same threat. Taking a few extra seconds to finish the job properly usually saves more resources than dealing with a mutation on the return trip.
Use the Map to Track Missed Items
Inventory space runs out faster than you expect, which means you will leave things behind even when you know, they may become handy. That is normal in Requiem. The important thing is that the game actually remembers what you skipped.
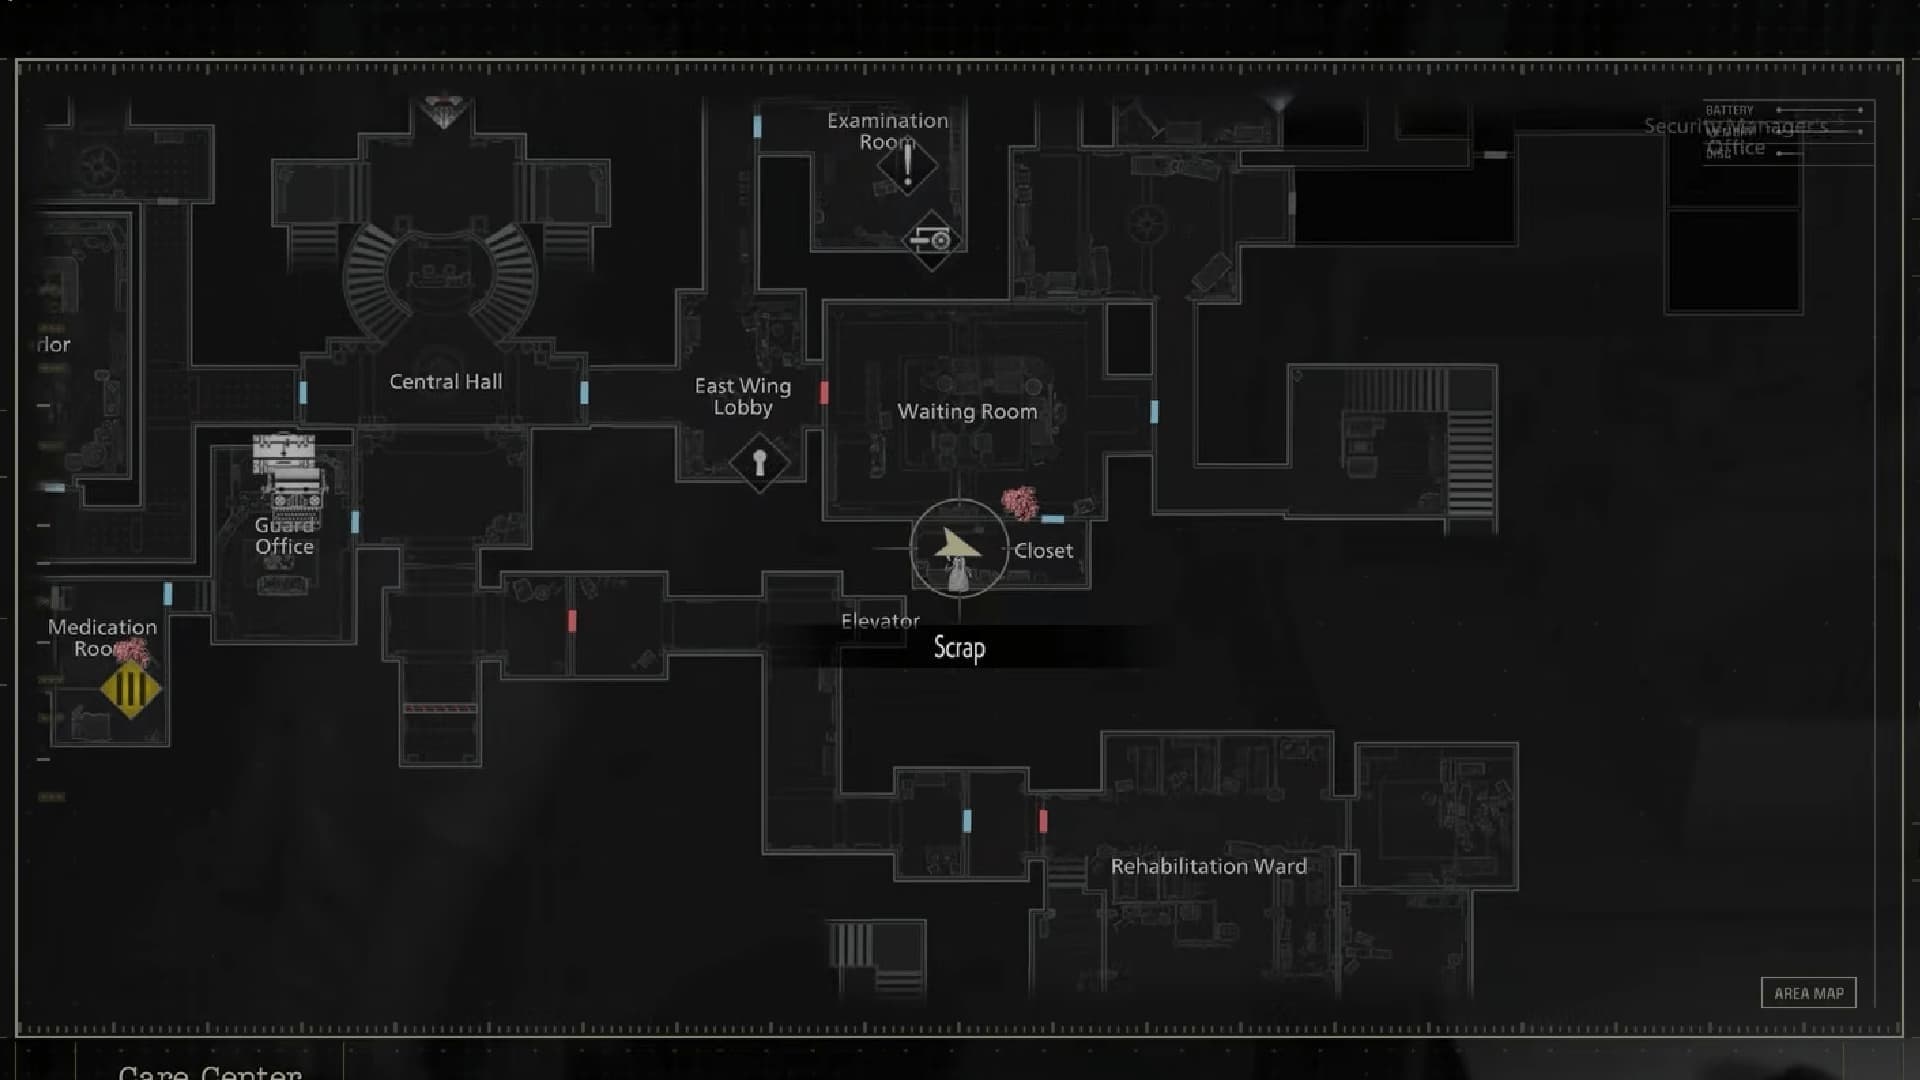
The map quietly marks uncollected items, so when you finally clear some space in storage, you do not have to rely on memory. Instead of pacing through hostile areas trying to recall where that lockpick or ammo stack was, open the map first and decide how you want to approach it.
Going back with a plan changes the risk level. A direct route limits exposure, keeps encounters predictable, and prevents small supply runs from turning into messy, resource draining detours.
Survival Horror Design and Player Strategy
In the Requiem the tension still comes from restriction. You never quite have enough space, enough ammo, or enough healing to feel comfortable for long. That discomfort is intentional, and learning to operate inside those limits rather than trying to overpower them is what ultimately carries you through Raccoon City.